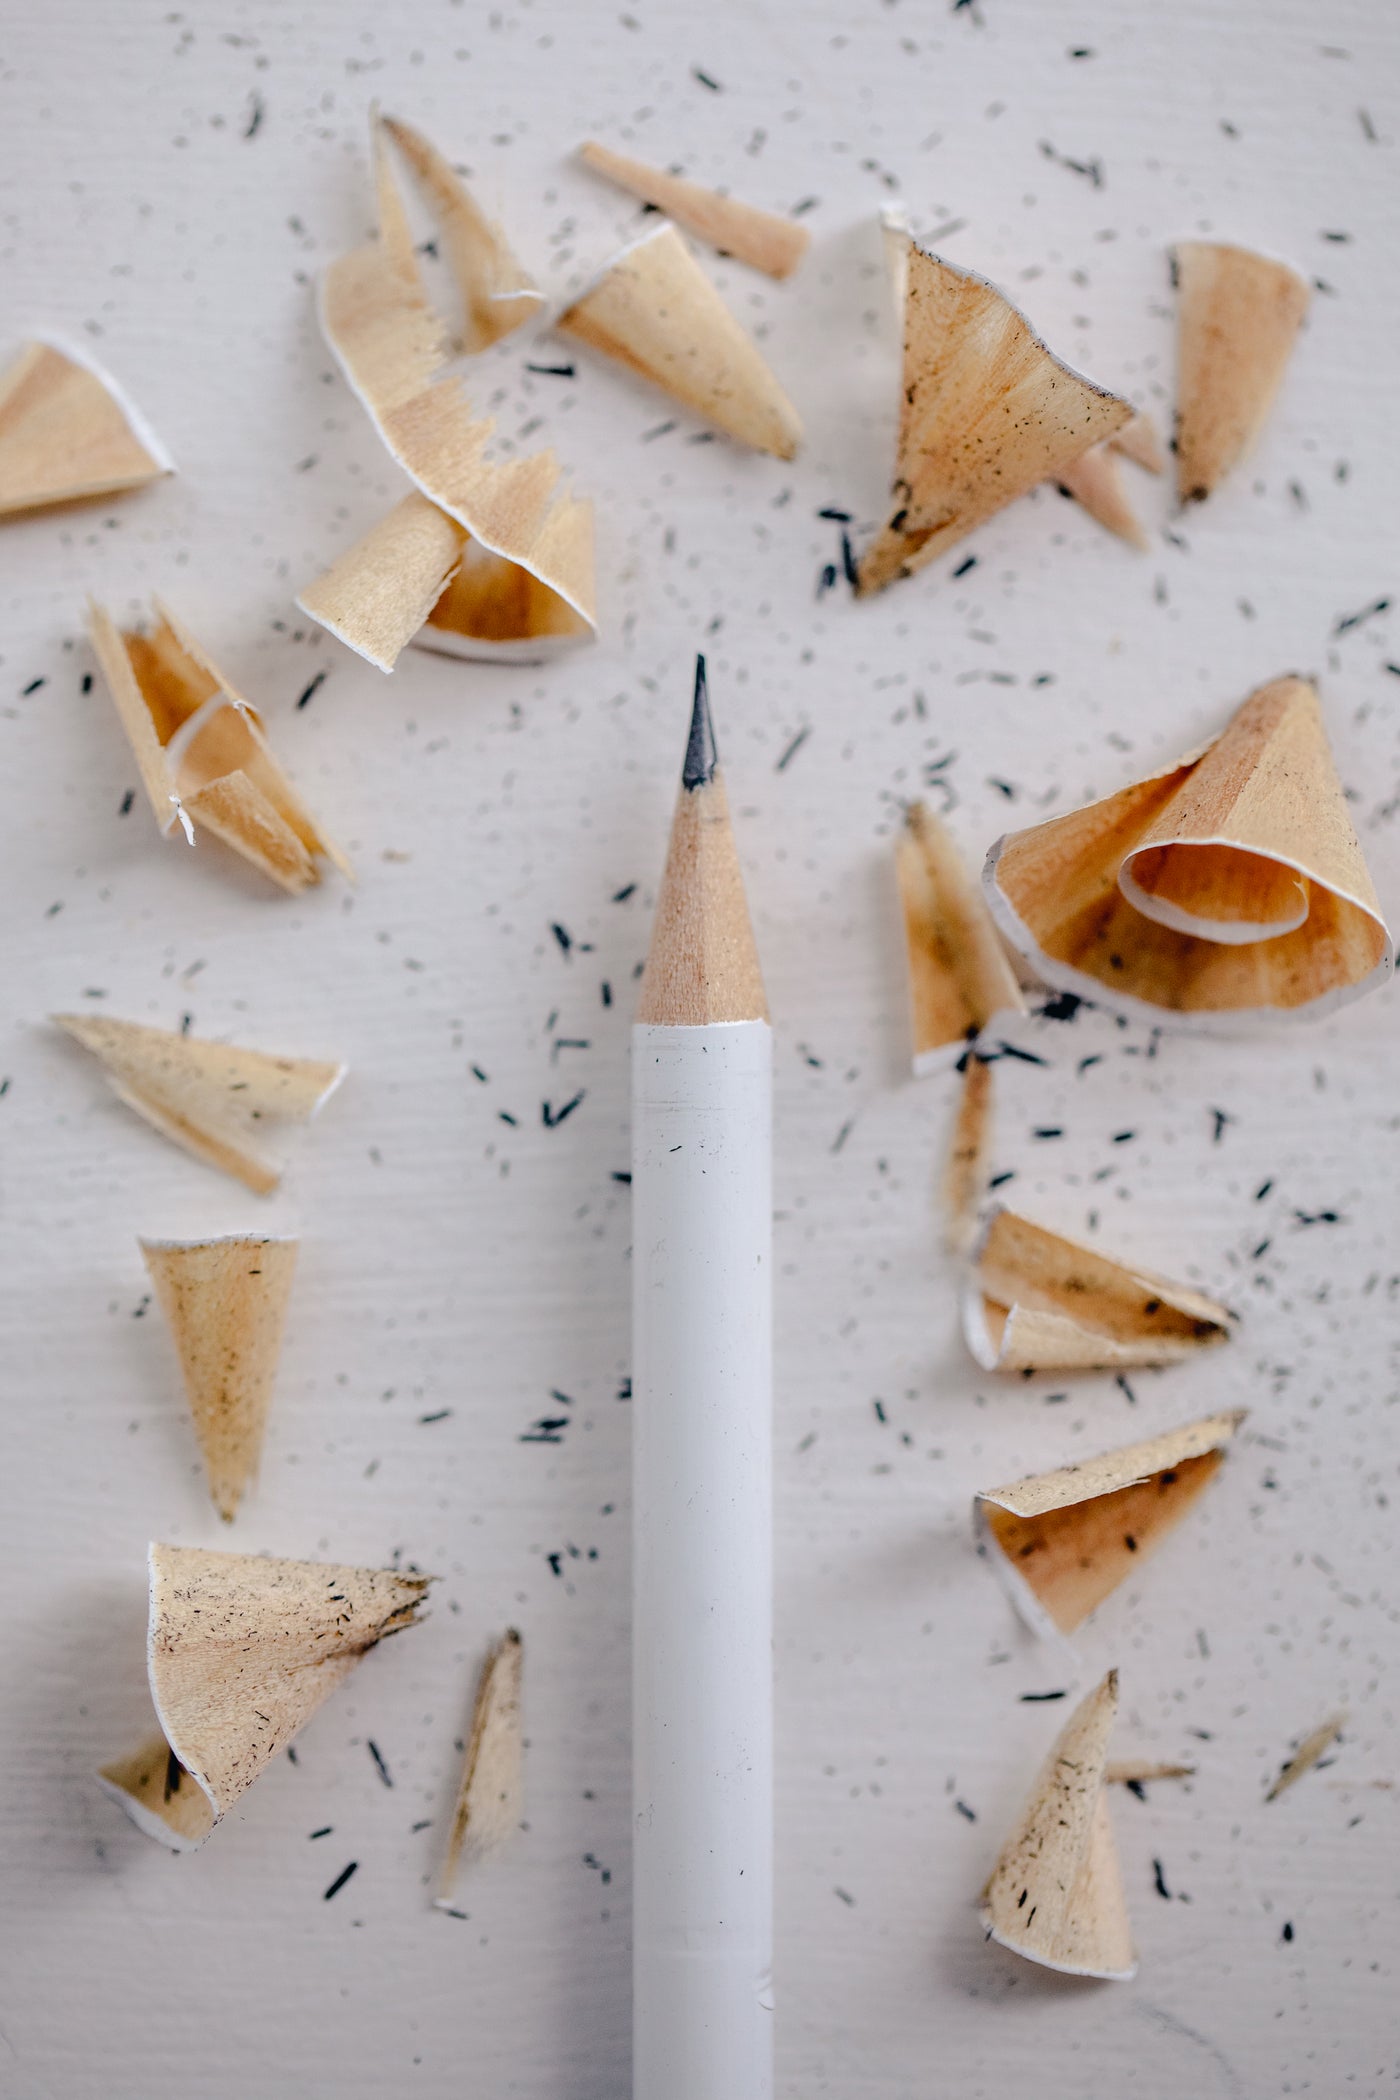
Sharpen for the mark you need
An ordinary pencil becomes a different working tool as its point wears down. A freshly sharpened tip can reach a small junction, while a broader surface can describe a quiet area without many separate strokes. Neither condition deserves to become the permanent ideal. Before sharpening a pencil again, identify the mark that has become difficult. Is a narrow gap closing too quickly, or is a shaded passage taking more strokes than you want? Naming that problem gives the next adjustment a purpose. It also prevents the attractive appearance of a neat point from deciding how the whole drawing should look.
Set a scrap of the same paper beside the drawing. Make one narrow line, one broad stroke and one small patch with the point as it is. These are working references, not measurements of the pencil's quality. If the broad patch already suits the drawing, keep that sample in view before changing anything. You might decide to complete a large shaded area first and sharpen afterward for its edges. That order can be easier than repeatedly wearing down a new point to recover a mark that was available a moment earlier. Let the work determine the sequence.
Use an ordinary suitable sharpener according to its instructions, stopping when the point is useful rather than exceptionally long. There is no reason to introduce a knife for this comparison. A fragile extension is an inconvenience when the intended marks are broad, and a decorative spiral of shavings tells you little about the drawing. Clear the loose fragments away from the paper before returning to it. Then repeat the three marks beside the original samples. Keep the pressure comfortable and approximately similar, so the comparison is about the available shape rather than an attempt to force matching darkness.
Look first at the ends of the narrow strokes. Does the new point make it easier to stop at a small corner without leaving a large dark dot? Now compare the broad strokes. You may need to hold the pencil differently to bring a usable side into contact with the paper. Try that on the scrap before approaching the drawing. There is no single grip to copy here. The useful position is one you can maintain comfortably while seeing where the mark will land. If a position feels awkward, rotate the paper or choose a different mark instead of insisting on it.
Give the point a concrete job in a tiny study of an empty envelope. Use the broad mark for the shaded flap and the narrower mark only where two folded edges meet. Avoid outlining every edge simply because a precise tip is now available. The envelope should still read through its larger relationships. If the small junction attracts too much attention, lighten it or stop sooner in the next study. A sharper point can solve access to a detail while introducing a new imbalance. The drawing, rather than the neatness of the point, supplies the final comparison.
Keep turning the pencil slightly as you work if that helps maintain a usable contact surface. Watch the marks instead of following a fixed rotation schedule. After several passages, repeat one of the scrap samples and notice whether its width has changed enough to matter. Some subjects tolerate that variation; a small repeated diagram may need greater consistency. Make the decision according to the page's purpose. A short observed sketch does not need the same uniform edges as an instruction drawing whose matching symbols must be read together. The same pencil can support both, with different attention.
If the tip breaks, remove the loose piece and inspect the paper before continuing. Do not press harder to imitate a dark mark made by a fragment. Re-establish a usable point and compare a fresh sample. The interruption may suggest a simpler treatment for the remaining area, but it need not become a lesson about your ability. Materials change during use. A practical response is to recover a mark you can control, then continue from a nearby complete shape rather than chasing the broken stroke repeatedly until it becomes the darkest feature on the sheet.
At the end, retain the small comparison strip with the study. Add a plain note such as narrow corner after sharpening or shaded flap before sharpening. Such labels record a decision you can repeat without turning the page into a catalog of pencil grades. Next time a drawing stalls, consult the actual marks before buying another tool. The useful question is small and visible: which contact surface would help this particular passage? Answering it on scrap keeps the main drawing open to observation and gives sharpening its appropriate place as ordinary preparation for a specific mark.