A box corner without a ruler
An unprinted carton gives a drawing session several clear edges and very little decorative distraction. Put one on a table so that you can see its top and two sides. Sit where you can remain comfortably for a few minutes. The exercise is to compare the directions you see, without using a ruler to make the result appear more certain than your observation. A ruler can be useful in other drawings; leaving it aside here simply keeps attention on estimation. Choose a modest drawing size, with room around the carton. A corner pushed against the paper edge makes every later adjustment unnecessarily awkward.
Start with the nearest upright corner. Indicate its top and bottom lightly, then draw a tentative connection between them. Compare the two edges that leave its upper point. Ask which rises more steeply across your view and which appears longer. You can make small directional marks beside the drawing before extending the edges themselves. These marks are questions on the page. They do not need to form a polished construction diagram. Avoid calling both directions forty-five degrees just because that number feels plausible. A useful comparison can be as simple as this edge seems flatter than that one from this seat.
Close one face first
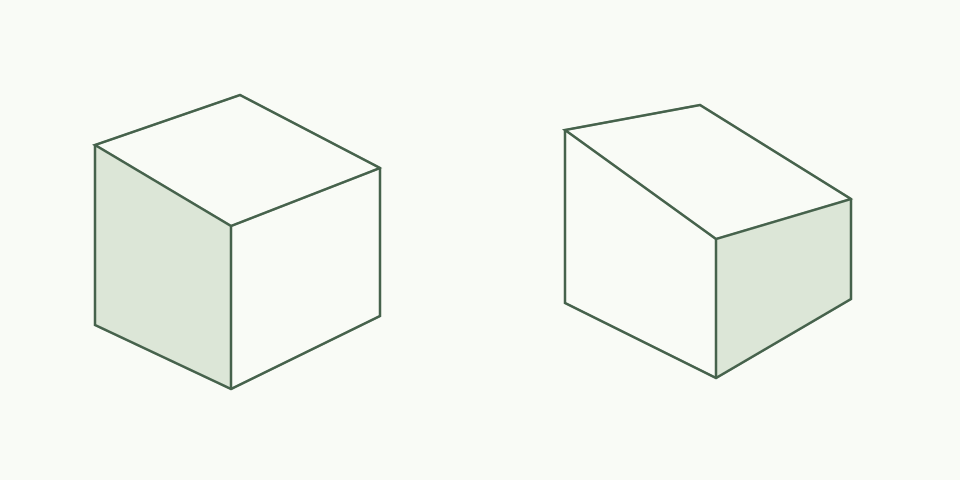
Choose one side face and place its far upright edge. Now compare its width with the height of the near corner. If the face looks too broad, correct the faint upper edge before adding its lower partner. Closing a single face gives you a manageable shape to assess. It also prevents a dense network of confident lines from developing before the first proportion has been considered. Look at the whole face as a shape, including the angle of its lower boundary. Do not assume that its appearance on paper should be a neat rectangle just because the carton itself has rectangular sides.
Add the second side and then the top. Each new face should agree with edges already present, but agreement alone does not make it faithful to the arrangement. Check a visible interval, such as the distance from the nearest upper corner to the farthest point. If that interval seems wrong, trace the disagreement back toward a specific edge. You do not have to correct everything at once. A second faint line can show an alternative while keeping the first available for comparison. Once you choose between them, darken only a short portion. The rest can remain light until the overall shape feels reasonably settled.
Let the drawing stay provisional
Before shading, step back from the sheet and compare the entire silhouette with the carton. Look for a corner that seems to lean or a top plane that has become unexpectedly deep. If the drawing differs, decide whether the cause is proportion, direction or placement. Those are more useful categories than a general sense that perspective is wrong. For a second attempt, change just that cause. Starting again on a fresh small area can sometimes be clearer than erasing a crowded corner repeatedly. Keep the earlier version, since a visible comparison can explain the effect of the change much better than memory alone.
Leave the carton seam out of the first pass unless it helps locate a plane. Printed details can make a box recognizable before its proportions are settled. Cover them temporarily with a plain sleeve if needed, keeping the object stable and the exercise focused on the visible corners.
If you add tone, use one quiet value on each side and leave the top mostly open. This is enough to distinguish the planes without concealing their boundaries. Do not use dark shading to repair a corner whose position still troubles you. At the end, note one comparison that proved useful, such as the narrow face being less than half as wide as the broad face. Repeat the exercise with the same carton turned slightly, allowing the new arrangement to demand a new estimate. The goal is not a universal box formula. It is a more deliberate sequence of observations that keeps a simple object from becoming a collection of automatic assumptions.